The Lost Art Of Turned Edges In Leatherwork
- Leathercraft Masterclass

- Feb 8
- 5 min read
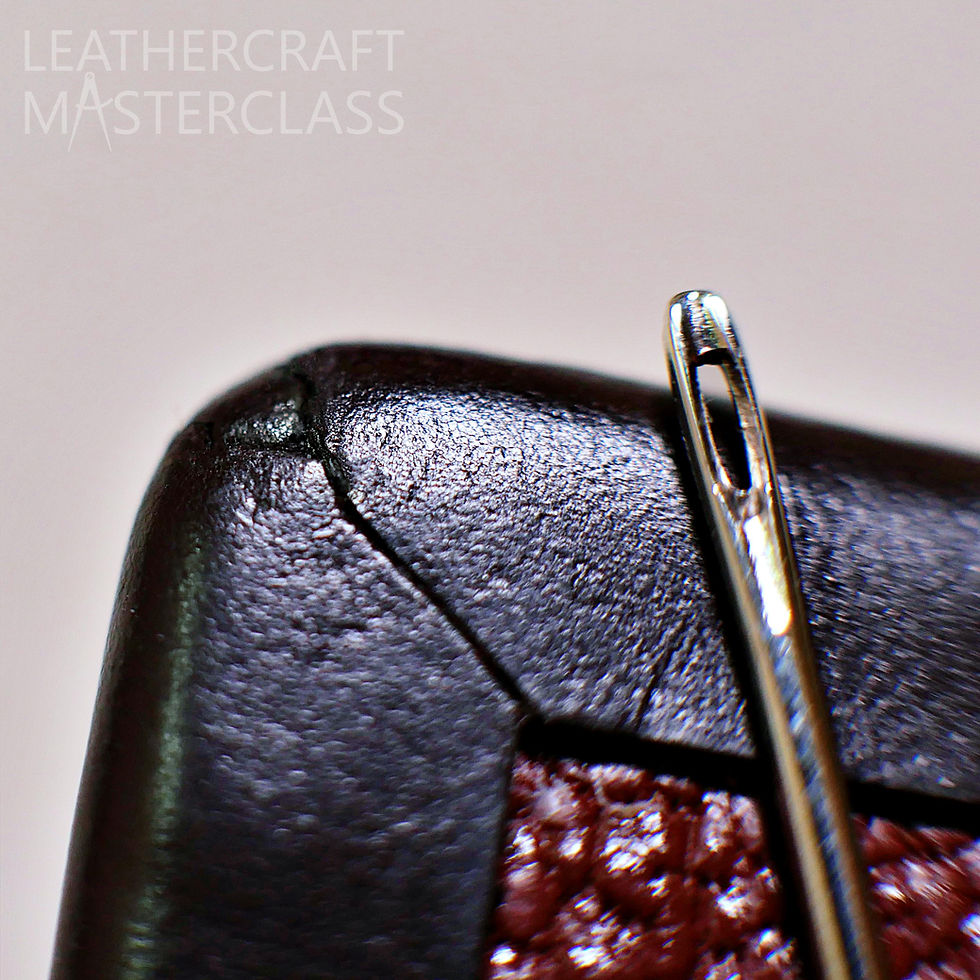
Turned edges, sometimes called folded edges or rembordé, is a term used to describe a leather edge that had been folded over itself, usually around the perimeter of the project after skiving or thinning, to avoid excess bulk.

It gives a cleaner, less interrupted look to the completed piece, as the ‘edges’ are now simply a continuation of the top layer, whether that be full grain, top grain or whatever leather you are working with.
This can be achieved on both chrome tanned leather and vegetable tanned leather, contrary to popular opinion.

Vintage leathergoods are very often adorned with turned edges. In fact the old term ‘fancy leathergoods’ is a description of turned edge work and designates it as ‘fancy’ or luxury. It isn’t the use of exotic skins or highly complex and decorated projects, it’s simply whether or not the craftsman creating it had the skill to turn an edge.
Everything else of average quality was termed ‘cut edge work’. This would now include anything with dyed, burnished or painted edges.

My goal here is to make this wonderful technique popular again. At the very least, your work will stand out from the rest, whether you choose to sell your work or not.
The benefits are a very classic look to your work, and gives it a vintage vibe. It also means you don’t have to go through the process of burnishing, or edge painting.
Durability wise, it depends on what leather you are using, the design of the item being made, and how it will be used.
For full grain chrome tanned leathers, durability in many cases will exceed that of a burnish or leather edge paint.
Many people believe it takes longer to fold an edge than it does to create a smooth burnish or an even coat of edge paint. But in many cases, that statement is far from true.
Once the edges have been thinned to the desired thickness, all that’s left to do is apply a little glue, and fold it back on itself before stitching. Job done.
So, if the turned edge is so durable, simple, and quick to do, why is this technique not more popular in the leathercraft community?
SKILL
Yes, unless you have access to a bell knife skiving machine, a turned edge will require more skill than a simple burnish or a couple layers of edge paint. However, with the popularity of mirror burnishing and incredibly perfect edge painting, these ‘simple’ edge finishes can require incredible amounts of time and skill from an experienced crafter.
The main issue for many is the need for hand skiving ability. There are so many beginner and novice crafters that find hand skiving leather either frustrating, or too intimidating to even attempt.
I even get emails and messages from crafters around the world asking me what skiving knife they should get for their first tool. Many times these artisans have been leatherworking for 2 or more years without even owning a skiving knife.
This is more common than you think. The resulting leatherwork can result in thick edges, excess bulk and a less refined look to your work.
Let me tell you a story to really highlight what the problem is. I remember several years ago I was in my workshop sharpening a new skiving knife that arrived quite blunt. I finished going through various grades of diamond abrasive sharpening plates, and then finished off with some polishing compound on a leather strop.
At the time I was teaching in-person courses (something I no longer do), and that day I had a student who had never tried leatherwork in their life, literally zero leathercraft experience.
During the lesson, I bought out the freshly sharpened skiving knife and gave a demonstration of hand skiving using a piece of leather.
Having no idea that hand skiving was difficult, I guided them through how to safely thin the leather edge using this new tool. They took the blade in hand, secured the leather behind the blade, and carried out the same movement along the edge that they had just seen me do.
The result was near perfect! They’d never touched a skiving knife in their life, and in one smooth gesture, they successfully skived an edge.
They had no idea they had achieved what some cannot replicate after years of trying.
Sure, they would be out of luck on a very soft or thin skin, or even skiving a curve, but the real problem here is the ability to sharpen a blade to a point where skiving becomes quite easy.
So many times we focus on the outcome and forget the process. The outcome we want (a clean skive) is merely the result of a process that comes beforehand. The process, of course, involves a lot of sharpening and basic technique.
“Give me six hours to chop down a tree and I will spend the first four sharpening the axe.”
- Abraham Lincoln
Old Abe was right. This is why I devoted my time to creating two full courses on the subject of sharpening.
So, going back to turned edges, the reality is this. The technique of creating a folded edge is quite simple, the tricky part is having the sharpening knowledge to make it easy!
So bear this in mind before attempting a turned edge.
Ok, so, how do you make a turned edge in leather?
Well, skiving being a separate subject, let’s focus on what kind of skive you need and what to do.
Now you can turn an edge without skiving if the leather is sufficiently thin, or you are wrapping leather around an object, but the common process involves thinning the edge.
First things first, you will need to perform what is known as a ‘step’ skive. This is where the leather steps down in thickness abruptly.
For example, let’s say you have 2mm thick leather across the entire piece you want to turn the edge on. 10mm in from the edge, a section is thinned down to 0.6mm. It is then glued out to where the turned edge stops, and the fold is then made. Et voila, you’re done.

Now, a turned edge can be folded back on itself, then stitched, or it can have something in between the foldover such as a lining, reinforcement, another piece of leather, fabric etc. A couple examples can be seen in the video below. So it can be a versatile edge finishing technique for protecting the edge, and whatever was placed under the fold.
Once the turn is complete, the whole assembly can be stitched through to secure the turn permanently. The glue is simply to keep everything contained as you stitch, and to prevent the edge of the turnover from lifting up during use.

The above video is taken from the latest course in the Masterclass: 'How To Make A Leather Bifold Wallet'. Part one is out now as of writing this.
This new course will not only show you how to make a strong yet ultra slim wallet, but also how to perform a turned edge, as well as edge bindings.
Bindings are similar, but instead of turning the edge on the same piece of leather, a thin strip of leather is glued over a raw cut edge and stitched in place.
For more information, watch the course preview below:
To watch this and watch almost 100 full length video courses from handbags to watch straps, cases to belts and everything in between, click the blue button below to view Plans and Pricing to start your luxury leathercraft journey now.


Comments