Long story short....well, that is not the case here, but the long story long sounds like this:
In 2020 when I settled my workshop into an over 100 years old house here, in Romania, I decided my hermitage would be worth a nice panel to make my hardly gathered vintage tools - and not only - available at a stretch of a hand.
Inspired by Philip's tool panel I decided to step the things up a bit by making a nicer 😋 and bigger one (120 x 60 cm to accommodate the existing and ever increasingly stock of tools).
Therefore starting researching the trunk making history I have found out that, although there were a few trunk makers in the mid 1800's, Luis Vuitton set himself apart by introducing an unique at the time striped canvas model which was produced for quite a few years, beginning from 1872 until 1928 when this model, although officially gone since 1888, has been made a last copy of to a client who was fond of the stripe model. This trunk was known in the era as the 'Rayée', which basically translates in English as striped. Initially, Vuitton started with a red stripes canvas, but after 4 years, due to intensively being copied (sounds familiar?) by other trunk makers he turned to the beige stripes canvas which he patented.
Because I wanted to pay homage to a pre 1900 trunk, and being - to a certain degree - an easier choice to make a faithful reproduction after, I immediately fell in love with this old model of trunk and considered it to be the ideal muse for my tool wall.

Now, prouding myself with my love for accuracy, I approached this project from the beginning with a great degree of finesse and precision. The first thing I have done was researching the originals with some trunk restorers from France. I have asked them to measure for me some very specific parts like stripes width, slat width, corners dimensions, width of leather border, distance between pins and rivets etc.
Gathering all this information together I then initiated to simulate my panel in a graphic design software.

Soon after I was going to find out that the bill at home does not match the one at the fair...
Initially I started covering the 9mm MDF board with the carefully selected heavy-weight hemp canvas to match as closely as possible the original pattern.

After rigorously testing all kind of paints, combinations of colours and proportions I came up with a nice recipe.

I then made a mix of water based coloured wood lasures which I impregnated the canvas with to give the background colour. Next, I carefully placed adhesive tapes at a specific distance apart one from another. All good up to this.
But after giving the second, darker colour, layer of lasure over the adhesive tapes, I was going to find out that my clear defined stripes I was dreaming of wouldn't be quite there, rather they were all going to come 'out of focus'.
Hmm, vintage from the beginning, I thought to myself in an attempt to sweeten the bitterness of disillusionment...

Next, after laying down the leather border and initiating the hammering of those over 400 brass pins, I was also going to find out that my highly accurate pin positioning in my simulation would not worth two pennies. The perfectionist in me was compelled to accommodate himself with the given situation...
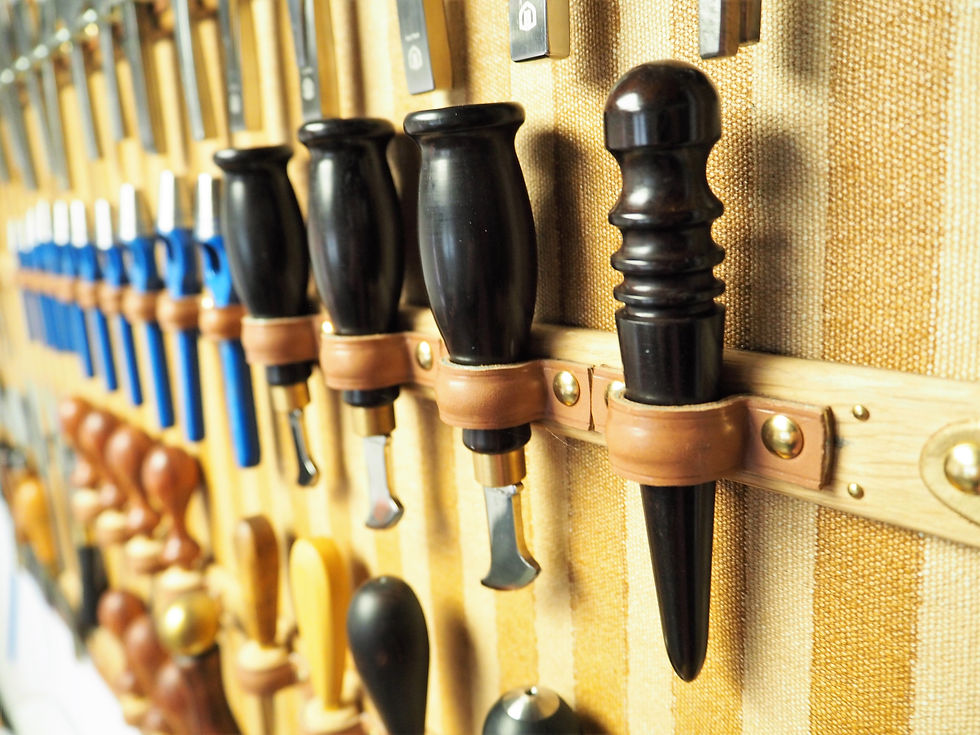
Before gluing and installing the wooden slats I lined them with the same leather I made the borders of to increase their thickness on the entire length they were getting in touch with the canvas. Thus they were going to overlap perfectly the leather borders. Plus, I have slightly 'skived' down the ends of the slats to create a raising effect to the 'brass' corners for a faithful reproduction of how the original trunk was done. Supplementary, from place to place, I have hammered some pins for a better fixing of the slats.

Apropos of the corners, I was heavily tempted in the first instance to buy some dedicated trunk making brass corners and rivets from France. But after calculating how much money would I spend for them I thought I would rather put that amount of money on the panel in the form of tools, not brass pieces. So here we go...

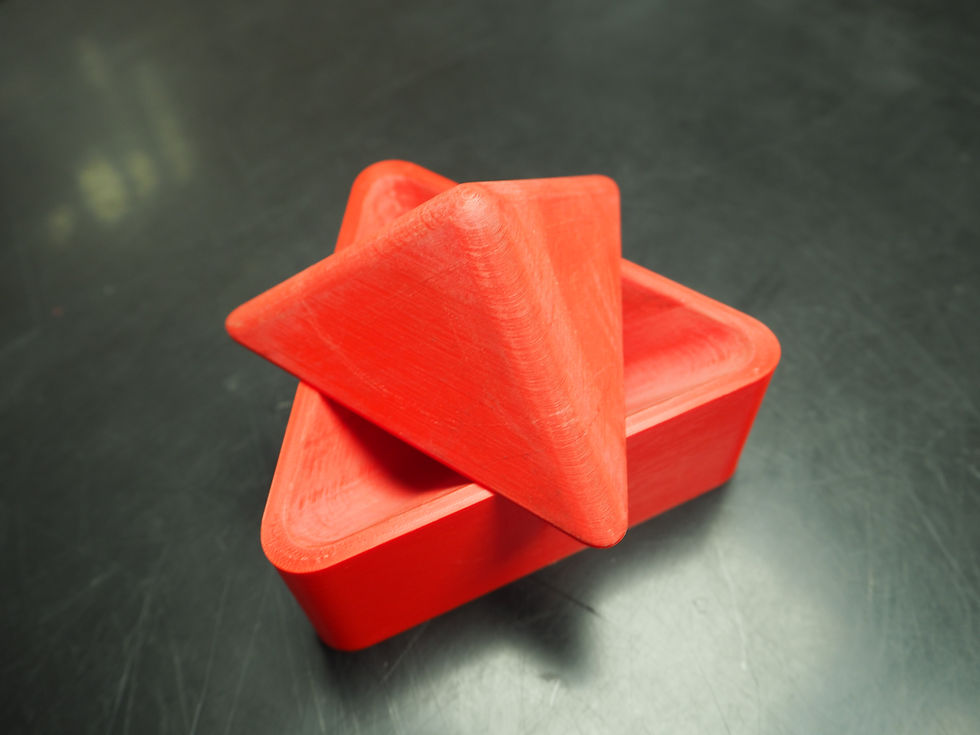
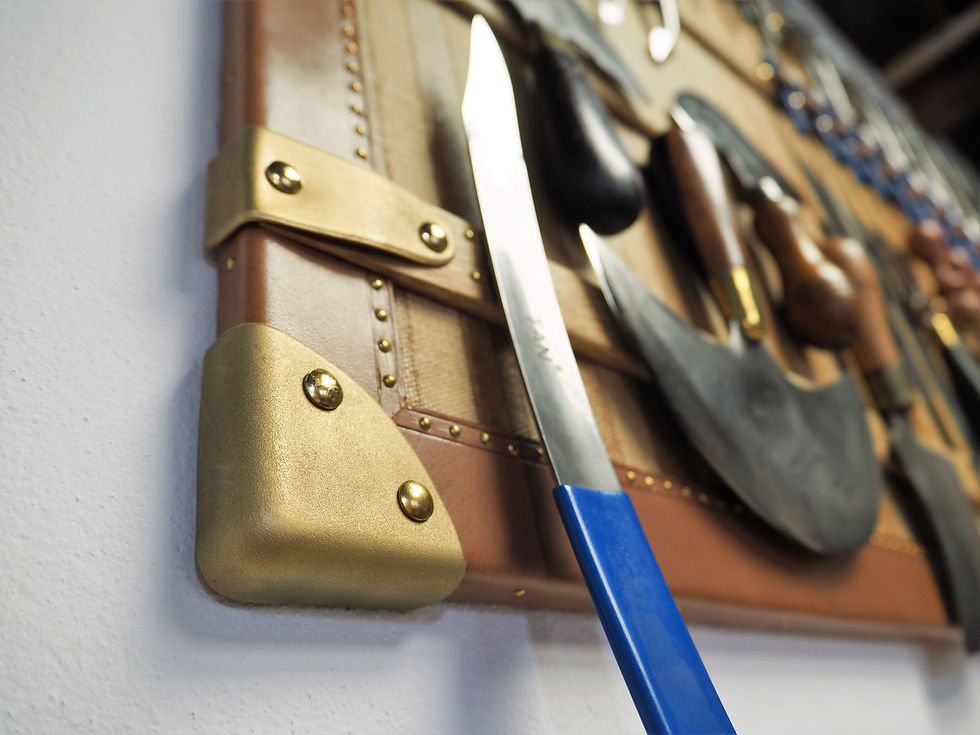
I have ordered myself a 3D printed moulding form which I have moulded leather corners with. Next, with a metallic brass pigment spray, I have covered the leather in brass pigment which surprisingly ages similar to solid brass.


As this panel was going to accommodate different shapes of tools I had to come up with common solutions for different problems.


The leather knives are hold in place by a few 20×3 mm disc magnets covered by leather patches. The purpose of patches is to attenuate the impact with the blades thus preventing magnets breaking and avoiding the metallic noise associated with the impact.
The magnets thickness was selected so that, when covered by patches, they would retain enough attraction force to keep various knife weights on panel and also the handled knives would have enough distance from the slat to make full contact between their blades and the covered magnets.
The patches thickness was chosen so that there would be an equilibrium between the holding force of the magnets and the releasing force required to get the tools out.
To conclude, a lot of searching, researching, planning, testing and construction was done during this project. It's not the kind of project you would get money out of, but it was done with passion and with an a-la-long mindset because the psychological impact it makes, and it already made after 1 year of show up on the wall, builds trust between potential clients and I, the artisan. Moreover, it allowed myself to dip my toe into trunk making, which is another craft I'm considering looking into for the future.

Ok, so the hardware used for your pricking irons, you called it "Fixing flange used for truck tarpaulin." What is another name for this hardware?
This is beautifully done. Now I want to make something like this.
This is a wonderful project. It looks amazing and was so worth all your hard work. It looks like a real vintage "trunk lid". I do hope you are happy with it (considering the "perfectionism" you mentioned). Nothing hand crafted is ever truly perfect, but I think that is a good thing - you are a human being, not a machine.
That is beautiful! Makes me really think I should organise my tools :-D
T
do you change your blanchard paring knife's handle?, it always comes with brown color, but yours is beautiful black one.
Beautiful work! I love how the omega holders reinforced with a piece of metal on the inside and the cork idea is brilliant to accommodate different tool sizes. You are certainly ready to dive into trunk making having your amount of accuracy, precision, and attention to detail.
Great post Christian! I'm sure that it will be around as long as the original trunk. I have seen those striped trunks in person at the Musée du bagage in France, an incredible place to visit if you get the chance.
Fantastic work with the hemp canvas, I think that's my favourite part.
Amazing, thanks a lot for sharing this. It’s really beautiful and inspiring, congrats.